Mastering Time Lapse Videography: A Comprehensive Guide
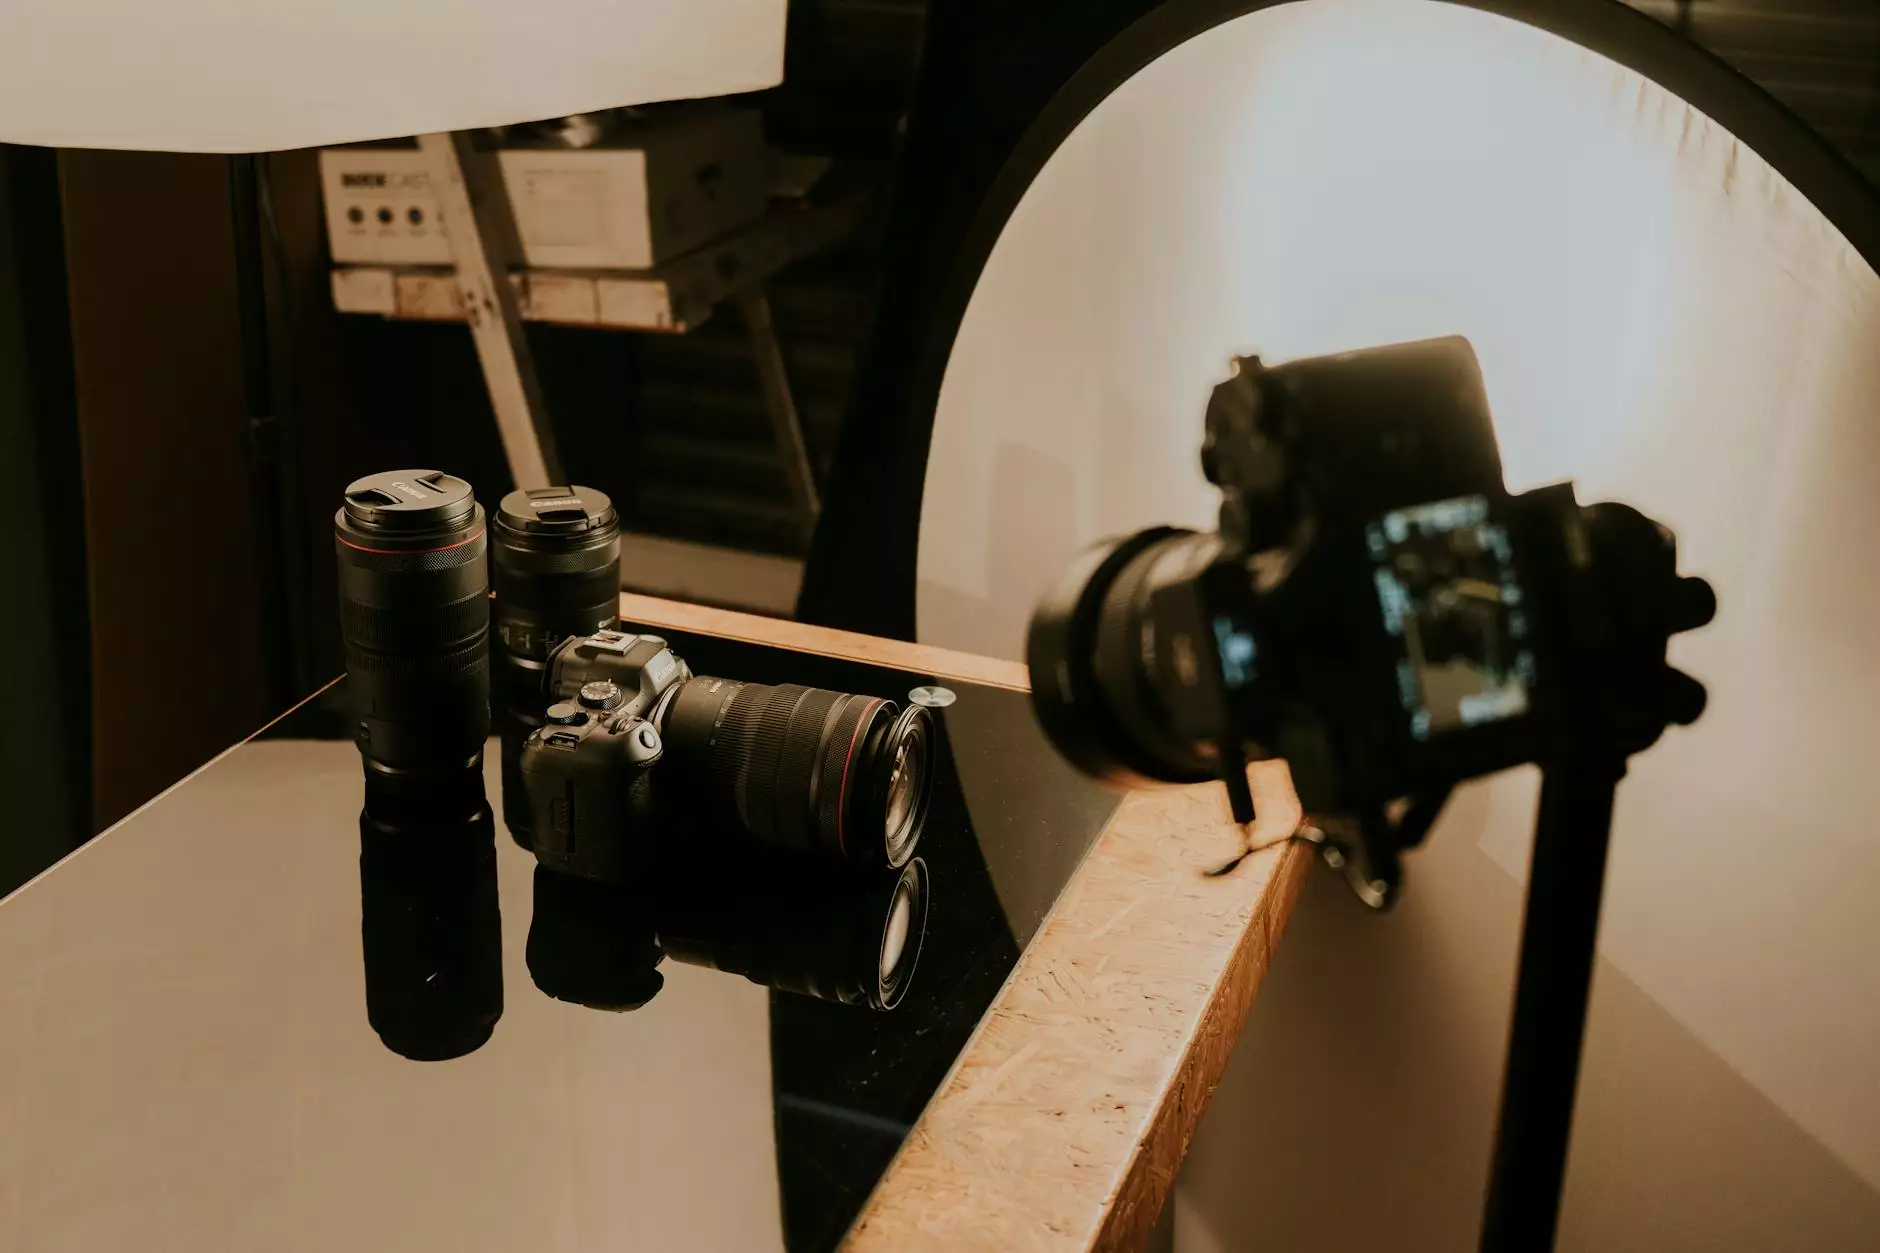
In the captivating world of visual storytelling, time lapse videography stands out as a remarkable technique that transforms the mundane into the extraordinary. This method captures the passage of time in a way that engages viewers, allowing them to witness changes that occur too slowly for the naked eye. With a rising demand in various fields—including real estate photography, nature documentaries, and urban landscapes—understanding how to harness this art form is essential for photographers and videographers.
The Magic of Time Lapse Videography
Time lapse videography involves taking a series of photographs at set intervals to record changes that take place over time. When played back at normal speed, the result is a breathtaking visual journey that reveals processes like the blooming of flowers, the movement of clouds, or bustling city life. The transition from static images to dynamic video can be truly mesmerizing, captivating audiences and eliciting a strong emotional response. Below, we delve deeper into the various aspects of time lapse videography, empowering you to master this unique genre.
1. Understanding the Technical Foundations
What You Need to Start
To embark on your journey into time lapse videography, you will require a few essential tools:
- Camera: A DSLR or mirrorless camera with manual settings will give you the best control over exposure, focus, and shooting intervals.
- Tripod: Stability is crucial, so invest in a sturdy tripod that can withstand the elements.
- Intervalometer: This device allows you to set specific intervals for your shots. Many cameras have built-in intervalometers, but an external one can offer more flexibility.
- Editing Software: Programs like Adobe Premiere Pro or Final Cut Pro are ideal for editing and compiling your footage into a seamless video.
Camera Settings for Time Lapse Videography
Proper camera settings are vital when capturing high-quality time lapse sequences. Focus on the following parameters:
- Shutter Speed: A fast shutter speed can help capture sharp images, particularly in bright conditions. However, a longer exposure can create a dreamy effect, especially for scenes like flowing water or clouds.
- Aperture: Set your aperture to a moderate f-stop (like f/8 or f/11) to ensure a good depth of field while maintaining clarity throughout your footage.
- ISO Settings: Keep your ISO as low as possible to avoid graininess. Use a fixed ISO setting when shooting to ensure consistent quality across all images.
- White Balance: Adjust your white balance settings according to the lighting conditions to maintain color accuracy.
2. Planning Your Shoot
Choose Your Subject Wisely
Not every scene lends itself well to time lapse. Select subjects with noticeable changes over time; popular choices include:
- Nature: Witness the beauty of sunrises, sunsets, or bustling wildlife.
- Urban Landscapes: Capture city traffic, construction projects, or public gatherings.
- Real Estate: Showcase the transformation of a constructed space or the flow of people through commercial properties.
Time of Day and Lighting
The time of day plays a crucial role in the aesthetic of your time lapse. Early morning and late afternoon often provide the best lighting conditions—these periods, also known as the golden hours, enhance colors and create stunning contrasts.
Determining the Length of the Shoot
Your overall plan should include how long you need to shoot to achieve the desired time-lapse effect:
- Short clips may require just a few minutes to several hours.
- Longer time lapses, such as flower blooming or site construction, might necessitate several hours to multiple days of continuous shooting.
3. Execution and Shooting Techniques
Interval Shooting Tips
When setting your interval, consider the speed of the changes in your scene:
- For slow changes, a longer interval (e.g., one frame every 10 seconds) is appropriate.
- For quicker scenes, a shorter interval (e.g., one frame every second or less) works better.
Frame Rate Considerations
When editing your time lapse, the frame rate will dictate how smooth your final video appears. A typical frame rate is 24 to 30 frames per second (fps), but some creators may opt for a higher frame rate for enhanced realism.
4. Post-Production and Editing
Your Editing Workflow
After capturing your images, the editing phase can be both exciting and daunting. Follow these steps to ensure a polished final product:
- Import your images: Organize your images chronologically for easier editing.
- Compile your sequence: Use your editing software to create a sequence from your still images.
- Adjust settings: Fine-tune color grading, contrast, and exposure to enhance the visual appeal.
- Add sound: Incorporate music or ambient sounds to elevate the emotional impact of your time lapse.
- Render your video: Export your finished product in high resolution for the best quality display.
Common Challenges in Time Lapse Videography
Time lapse videography, while rewarding, can also present challenges. Some common hurdles include:
- Light Changes: Keeping consistent lighting can be challenging, especially during sunset or sunrise. Use filters to correct shifts in light.
- Camera Movement: Even slight vibrations can ruin a time lapse. Ensure your tripod is secure and consider using remote shooting options.
- Battery Life: Long shoots may drain your battery. Carry spare batteries and consider using an external power source.
5. Applications of Time Lapse Videography
Time lapse videography has numerous applications across various fields:
- Real Estate: Showcase properties dynamically, demonstrating amenities and surroundings in an engaging way.
- Advertising: Create compelling content that draws attention to products, using time lapse to illustrate benefits and features.
- Documentary Filmmaking: Enhance narratives with time-lapse sequences that condense extensive processes into a succinct visual story.
- Event Coverage: Capture the essence of events, such as festivals, conventions, or sports, by documenting the buildup and activities in a unique format.
6. Elevating Your Time Lapse Projects
Experimenting with Techniques
As you gain proficiency in time lapse videography, consider pushing your creative limits with techniques such as:
- Hyperlapse: Involves moving the camera over significant distances while capturing time-lapse footage, resulting in a dynamic, energetic feel.
- Motion Control: Using motorized tripods or sliders can add smooth camera movement, creating a more sophisticated look in your videos.
- Day to Night (Timelapse): Also known as "Holy Grail" time lapse, which requires careful exposure adjustments to capture changing light conditions.
By continually experimenting and refining your skills, you will not only enhance your time lapse videography capabilities but also develop a unique style that distinguishes your work from others in the industry.
Conclusion: Capturing the Passage of Time with Precision
As we have explored, time lapse videography is an invaluable tool for photographers and videographers aiming to create visually stunning narratives. By understanding the technical foundations, planning meticulously, executing with precision, and mastering post-production, you can elevate your work to meet and exceed industry standards.
At Bonomotion, we strive to excel in the realms of Photography Stores & Services, Photographers, and Real Estate Photography. We invite you to delve deeper into our offerings and harness the transformative power of time lapse videography in your future projects. By doing so, you not only provide unique visual content but also engage your audience in a manner that leaves a lasting impression.
